PourBot - Making* an Arduino Pour Over Robot
(* Read: Attempting to make.)
Earlier this month, probably after seeing some neat post on Hacker News, I bought an Arduino Starter Kit on a whim. My mission: to hack up a pour over coffee machine (or fail trying).
Why? Well, partly because I love coffee. Especially a good cup made via pour over.
The truth, though, is that I've always been secretly jealous of the kids who broke open electronics and hacked them to do neat things. I've been firmly anchored in software1 since since a middle school buddy gave me a bootleg copy of Visual Basic 6. (Writing code was love at first sight, even despite the ugliness of VB6.) For me, Arduino offers an approachable way to tinker with electronics and hardware, while still having code as a crutch.
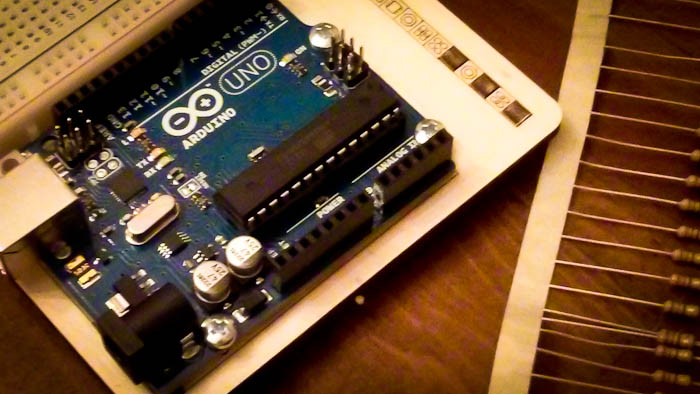
For the sake of reference, here's the Arduino Uno board that comes with the kit:
First: What is Pour Over Coffee?
It's a simple, old method of brewing coffee that is making a revival at boutique (hipster) coffee shops. The pour over method produces a single cup of coffee brewed deliciously fresh.
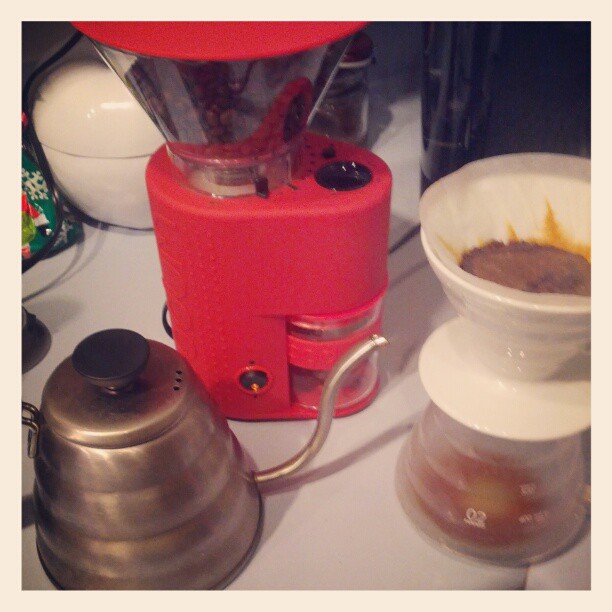
Here's roughly how pour over coffee works, step by step:
- Water is boiled to 192°F-200°F. This is important. (Most drip machines fail to breach 180°F.)
- Coffee is measured and ground fresh, with a burr grinder.
- The filter is placed in the dripper (the white ceramic funnel).
- The grounds go in the filter and are preheated by pouring just enough water to soak. Wait 30 seconds.
- Using a gooseneck kettle, water is poured onto the grounds with a growing spiral starting from center. Add more water as necessary. It should take around 2 minutes to brew.
That's it! So, let's see how much of this process can be automated with little electrical knowledge, an Arduino, and some hacking.
Problem #1) Sourcing a Boiler
Boiling water to right around 195°F, is step one, so it's the first problem I needed to tackle. Aubrey and I have collected a number of coffee machines over the years. My plan: salvage parts from the most promising of them.
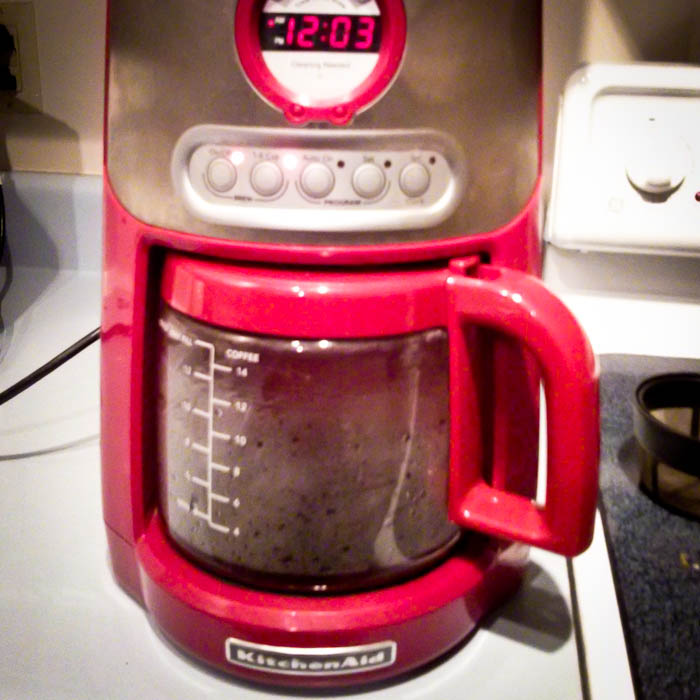
I pulled our first coffee machine from the attic, a nice looking, red KitchenAid and set it up. I filled its tank, and set it to brew, without any coffee, to test its water temperature.

It started pumping water into the grounds filter almost immediately, with lukewarm water. Gross. The hottest reading I could get it to reach was 160°F. No wonder this machine made coffee that tasted like wet garbage. The good news is, I wouldn't need to clean the filth left in it from the abuse it endured at NMC's office back in the 605 building days.
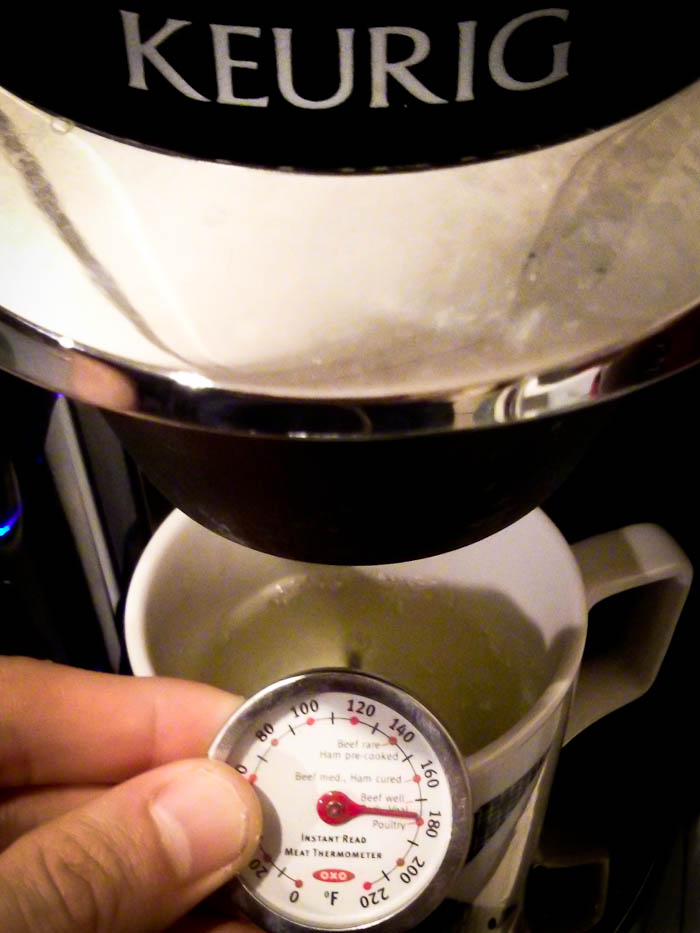
Next up: the Keurig. I had seen an Arduino Keurig hack before, and it had a nice looking pump system I thought would also be handy. Unfortunately, the warmest reading from the Keurig I could get was 180°F. It wasn't a completely fair test, I couldn't read directly from the spout without the machine refusing to pump water, but this isn't science, it's hacking.
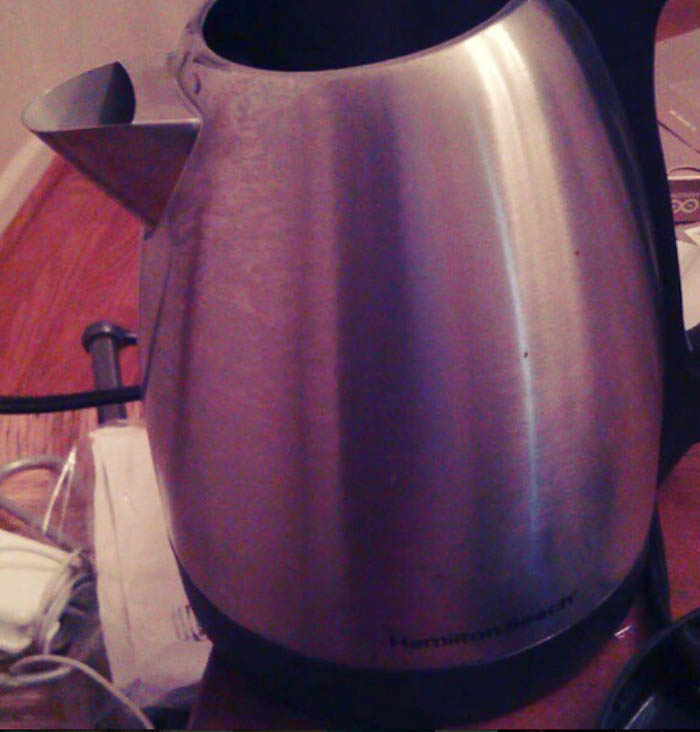
For some reason, I had mentally blocked out our Hamilton Beach electric kettle as a possible solution. I guess because it lacked pumps. It could certainly get water to boiling, though.
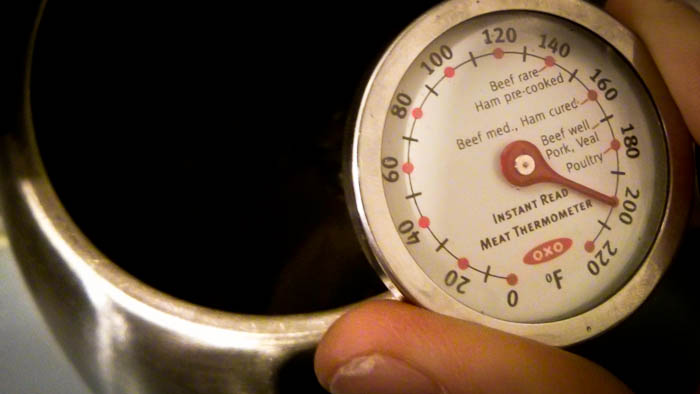
200°F! Yes!
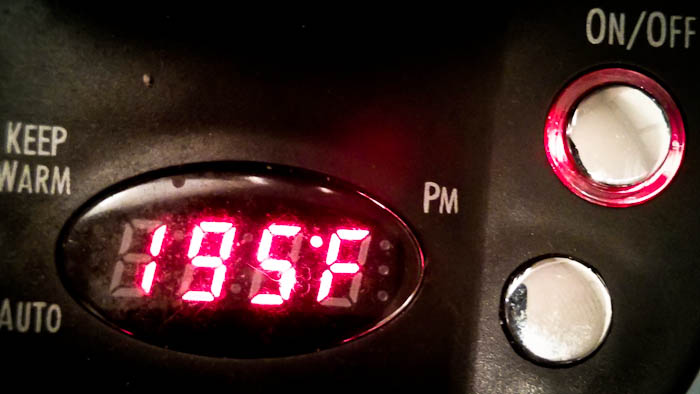
The other cool thing about it, I had forgotten: it has a built-in temperature display. I actually bought it for this feature. Most electric kettles lack this.
New Theory: If I can read the temperature sensor and control turning on/off the heating element, I've got everything I need to boil water to 195°F!
So I opened up the Kettle's "Docking Station". This was annoying because of the cockamamie Tri-Wing(C) screws they used, I assume, to prevent people like me from from opening it up. "Ah, screw it," I said, forcing a Phillips Head with some pressure to get the bolts out (and strip the heck out of them).
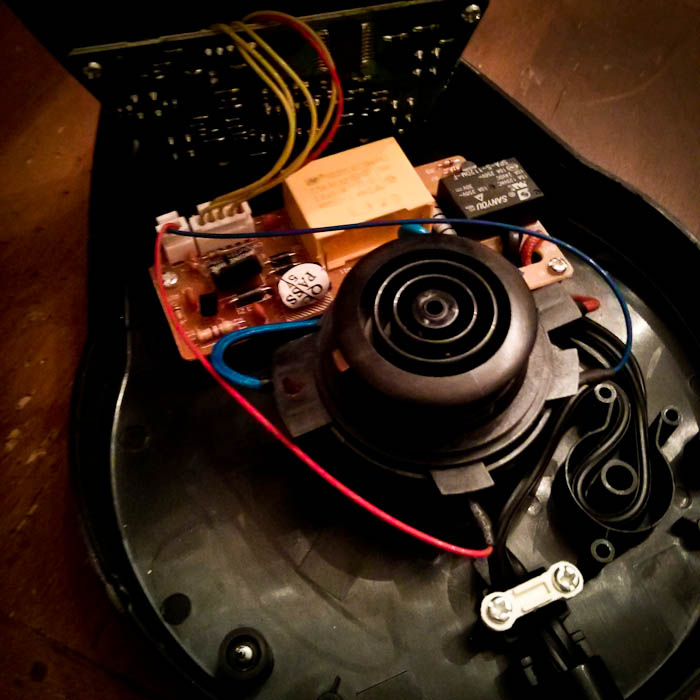
Boom! We're in!
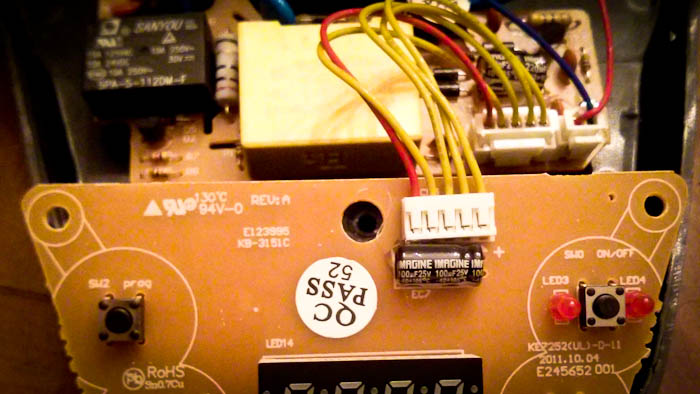
I spent some time looking at the two boards. (Ok, an embarrassingly long time. I'm coming into this project extremely green with electronics.) My conclusion was, "this is really encouraging".
I tried tracing the circuit on the backside of the breakout board to figure out the purpose of the wires, but realized I was slowly getting nowhere. So I stopped and ordered a cheap multimeter to be able to read the voltages of the wires while it was in operation. I had my fingers crossed the breakout board would be operating within the 0-5V range the Arduino does. That'd be great.
Being physically "blocked", because you're missing a tool or a part you can't get today, is a big change from equivalently simple software learning. The upside: it forces you to stop and go to bed.
In the next post, I reverse engineer the Kettle's jumper wires' purposes.
